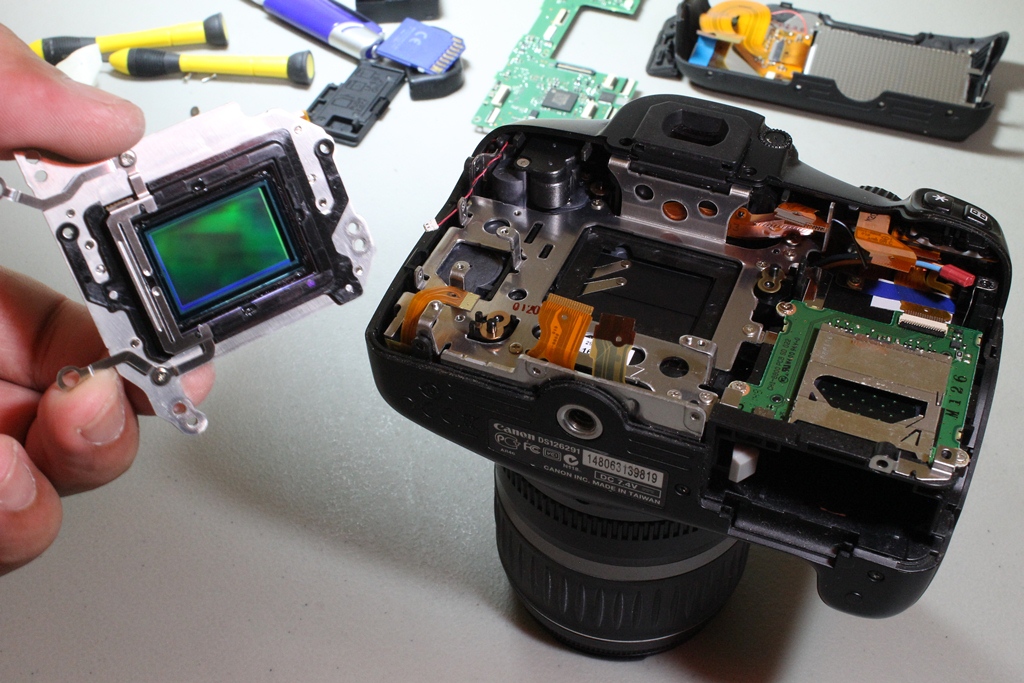
I have fitted my Pentax KP with a Neewer BG-E8 battery grip (intended for Canon cameras). While I also have the dedicated Pentax D-BG7 grip, I have made this modification to explore alternative battery options for the Pentax KP. In this modification, some filing is needed to flatten out the curved surfaces to flush the camera nicely to the grip. A new hole was then drilled in the grip since the tripod shoe locking screw was not aligned. A dummy battery was then used to connect the power to the camera. The grip’s buttons are non-functional since I have yet to figure out and map the proper connections!
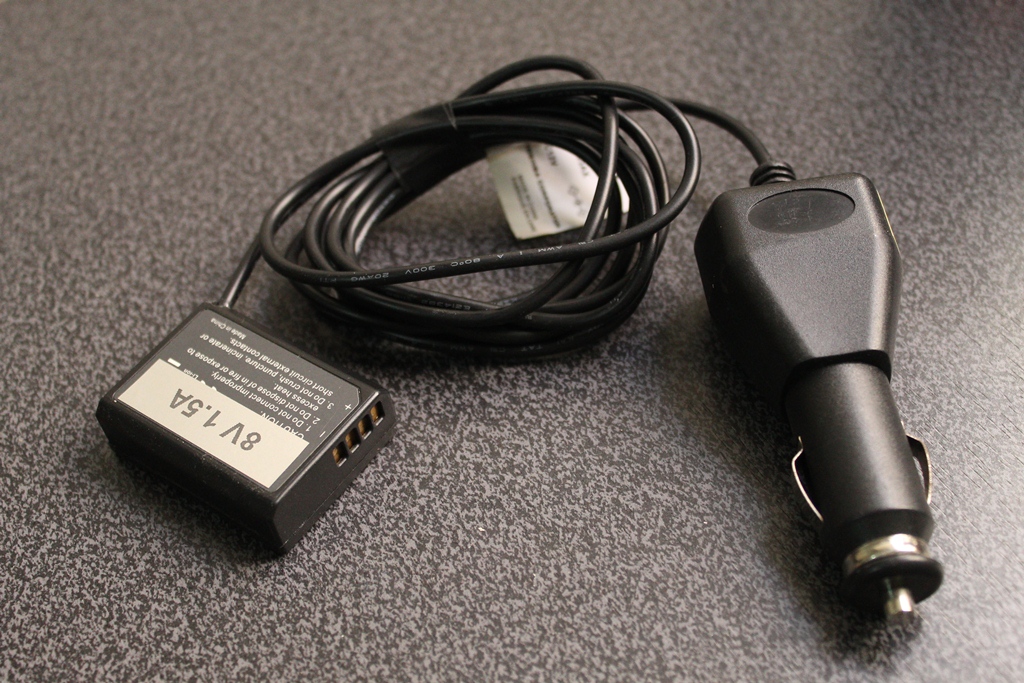
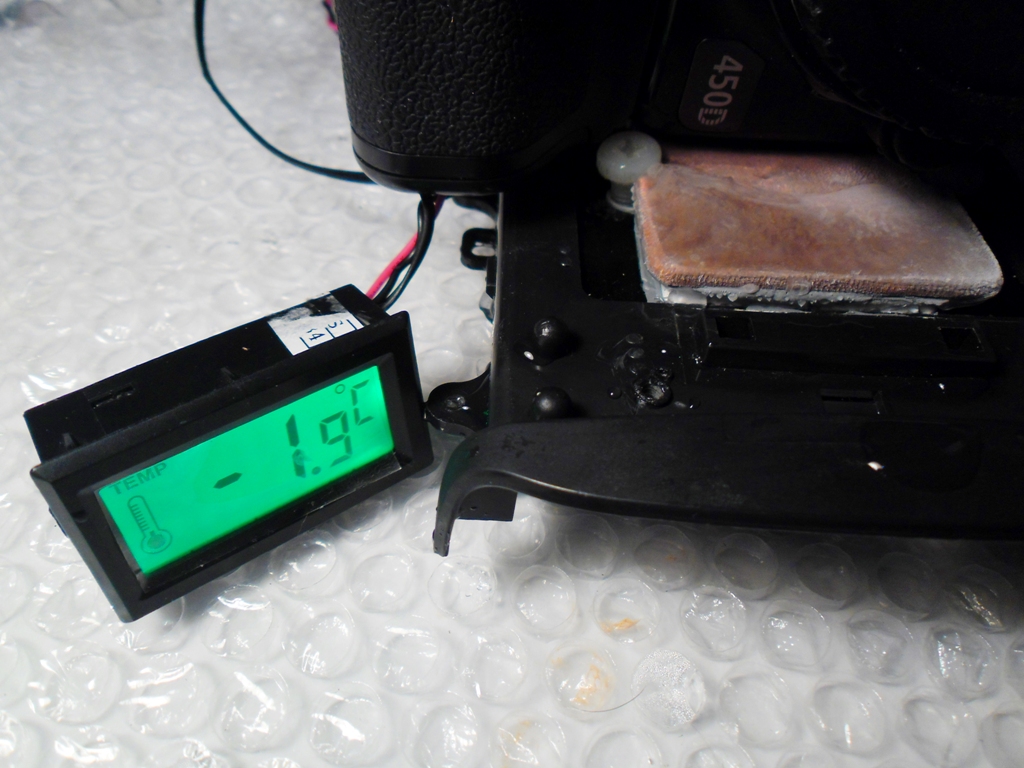
I have tested my Pentax KP to work with various power supplies ranging from 7.2V to 8.4V. For instance, it was tested to work with 6 NiMH AA batteries in series at 1.2V each, it works with a Fujifilm 7.2V NPW126S batteries, it works with Canon CA PS700 7.4V power adapter, and even works with two 3.6V to 4.2V 18650 cells in series.
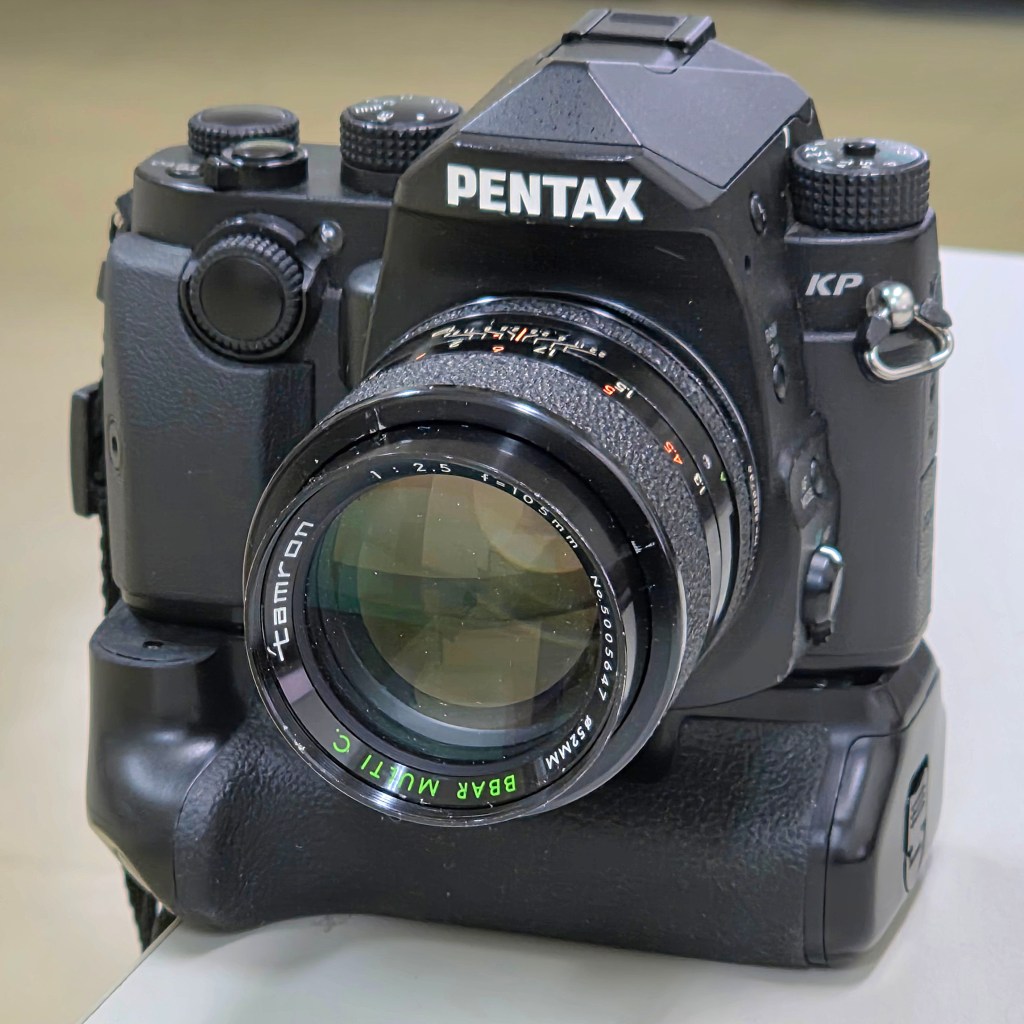
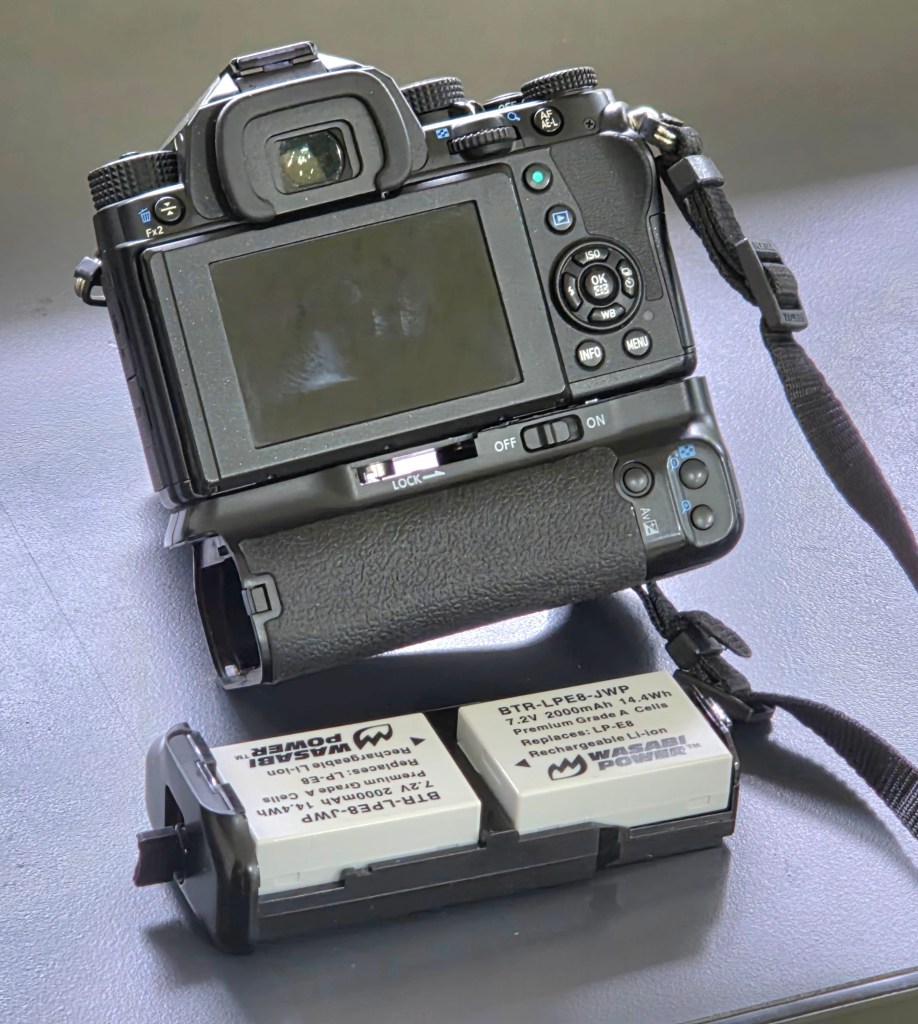
Alternative battery option for Pentax KP
Night Sky in Focus
© Anthony Urbano | Bacoor, Philippines