To clean the telescope’s lens or mirror, disassemble the lens or the mirror from the cell, making sure to mark the sides of the glass elements as it is necessary to reassemble them following the correct orientation as determined by the factory. In this video, I used my Sky-Watcher 100ED as an example. Follow these instructions at your own risk and exercise outmost care when cleaning telescope lenses.
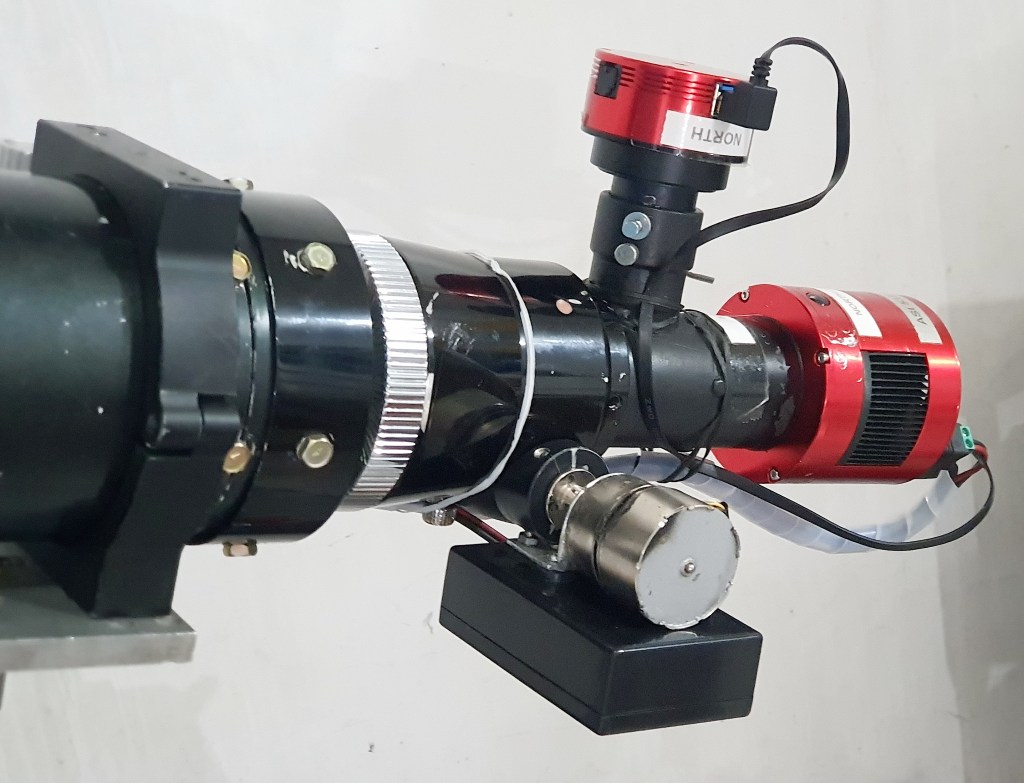
I have built a few electronic focusers for various telescopes. Here are some of the focusers built with stepper motors, stepper drivers, and an Arduino Uno microcontroller. These focusers work with astronomy software such as the Nighttime Imaging N Astronomy (NINA). When the autofocus command is called, NINA takes a series of photos at various focus distances and then measures the diameter of stars for star fields (or the highest contrast for moon and planets). It then calculates the proper distance travel for best focus, and then moves the focuser to that position. An automatic focuser ensures that stars remain focused during unattended imaging runs while you are away from the telescope.
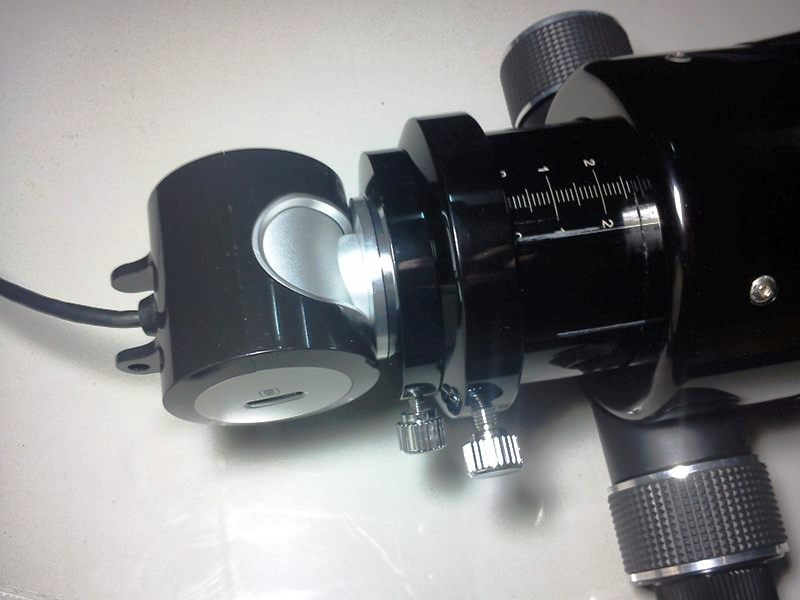
This DIY electronic focuser attached to a standard Crayford focuser. The controller keeps track of the draw tube’s current position and saves this information even when the focuser is powered off.
Here is an electronic focuser for a Vixen R114 reflector for automated and precise focusing.
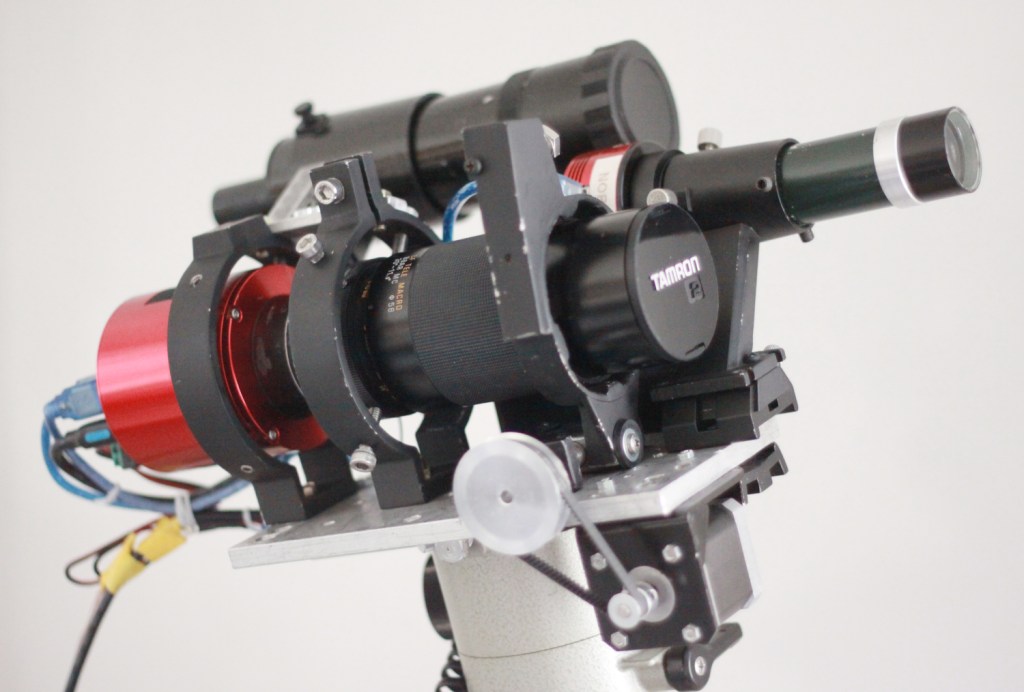
DIY microfocuser for a telephoto lens using a Vixen’s alt-az mount azimuth lock mechanism
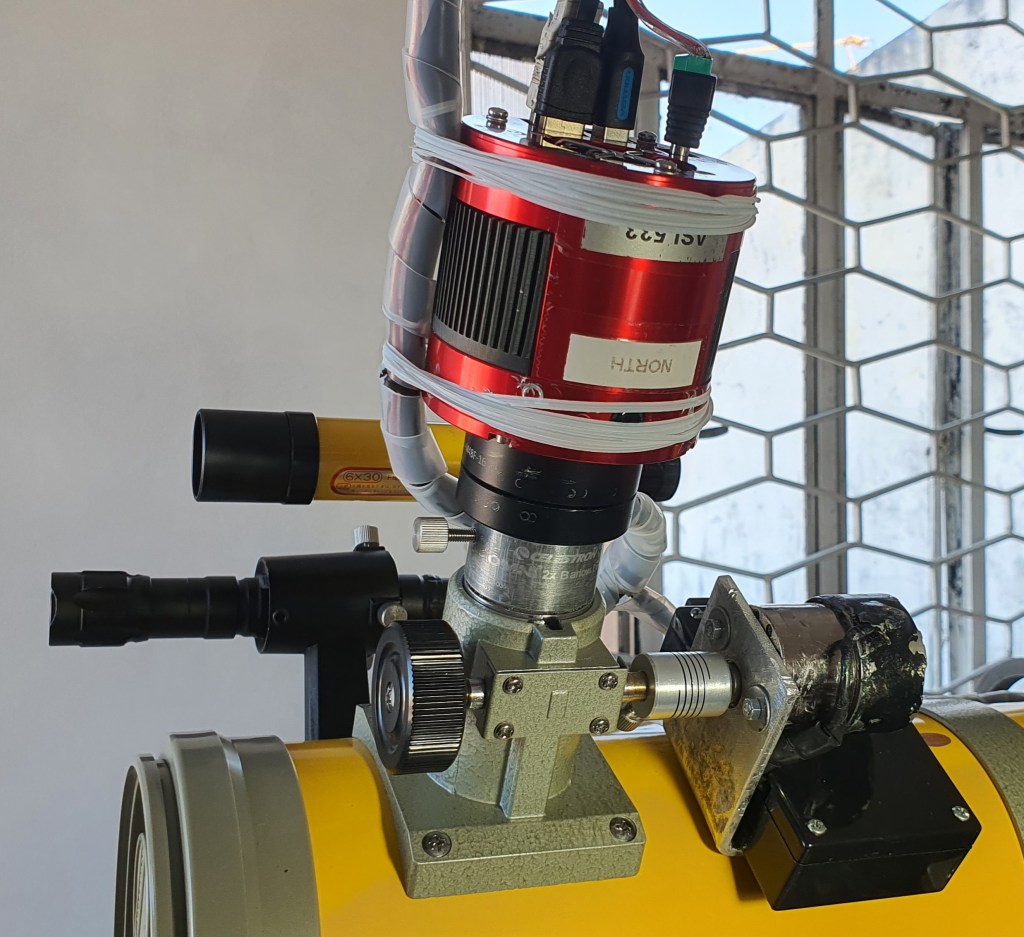
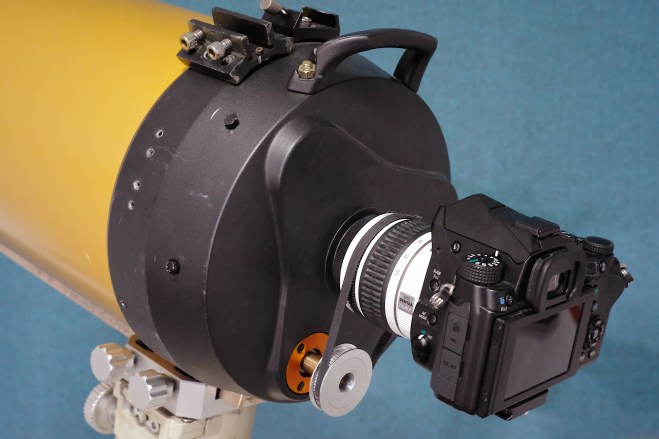
DIY electronic focuser for an 8 inch SCT using a motor drive from a Vixen Super Polaris mount
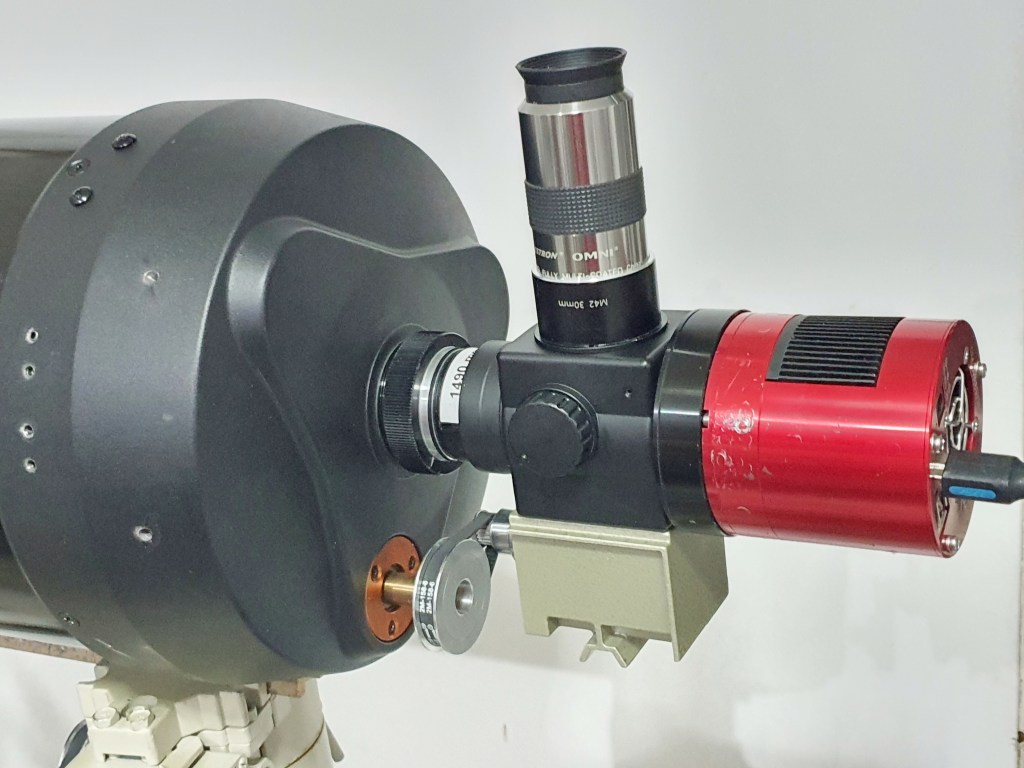
DIY Autofocuser for Celestron C8 using the Pentax Screw Drive focusing system. To view how I used a Pentax kit lens to add autofocus capabilities to my telescope, click here.
Electronic focusers can be quite useful especially in unattended automatic focusing. There are instances, however, when I would still prefer a mechanical non-electronic focusing, since electronic focusers tend to be slow, and it requires power. In all these DIY focusers, I have always included a clutch mechanism, to disengage the electronic focuser and still allow manual focusing.
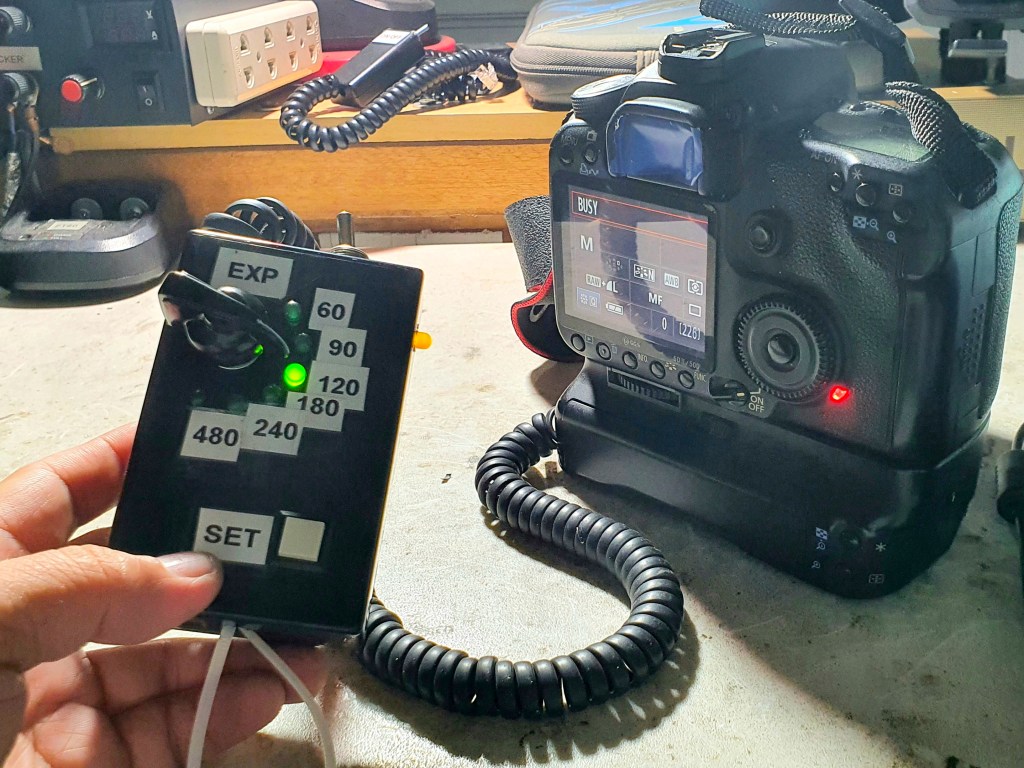
I’ve built a simple DIY intervalometer for deep-sky imaging, to enable my DSLR camera to take a series of photos of galaxies and nebula. It features a rotary dial with preset exposure times. When used with an autoguider setup, the intervalometer allows taking unattended exposures, while the telescope tracks a galaxy or nebula.
By attaching a webcam or a dash cam to a telescope using a special type of adapter, it is possible to take up-close photos of planets.
Web Camera | Replace the webcam’s lens by a special type of adapter called a webcam-to-telescope adapter. Insert the webcam with an adapter into the eyepiece barrel of the telescope’s focuser.
Mars imaged with an SPC900NC web camera
SPC900NC webcam attaches to a telescope with webcam-to-telescope adapter
Dash Camera | I repurposed my old dash camera as a planetary camera. The lens was removed and replaced with a webcam-to-telescope adapter and then mounted on to a telescope.
Polaroid N302 dash camera repurposed for planetary imaging
Smartphones can be used to image the moon by holding it next to the eyepiece of a telescope. For smart phone cameras, a mid-power eyepiece such as a 25 mm eyepiece yields good results. This imaging method is called afocal imaging, in which a camera with its lens is mounted next to another image-forming optical system such as a telescope or a pair of binoculars. An inexpensive smartphone-to-telescope may be built using inexpensive materials using a piece of plywood, hose clamp, screw, and rubber bands. Secure the hose clamp onto the plywood using screws. Use the hose clamp to hold the eyepiece in place. Use rubber bands to hold the smart phone camera and adjust as necessary.
Dew heaters or heater pads are telescopes accessories used to prevent dew from forming on the telescope’s lens. During long imaging sessions, it is not uncommon for the main lens of refractors to form dew. A heater is used to keep the objective lens at a temperature a few degrees C above the dew point to prevent the formation of dew.
I used nichrome wires from a local electronics store to build several DIY heater pads for my telescope, which I find useful in keeping the lenses free from dew especially when imaging in remote observing sites. I prefer to use place the heater inside the optical tube assembly, making sure that it does not obstruct the light path.
To view posts on DIY projects and astronomical equipment, click here.
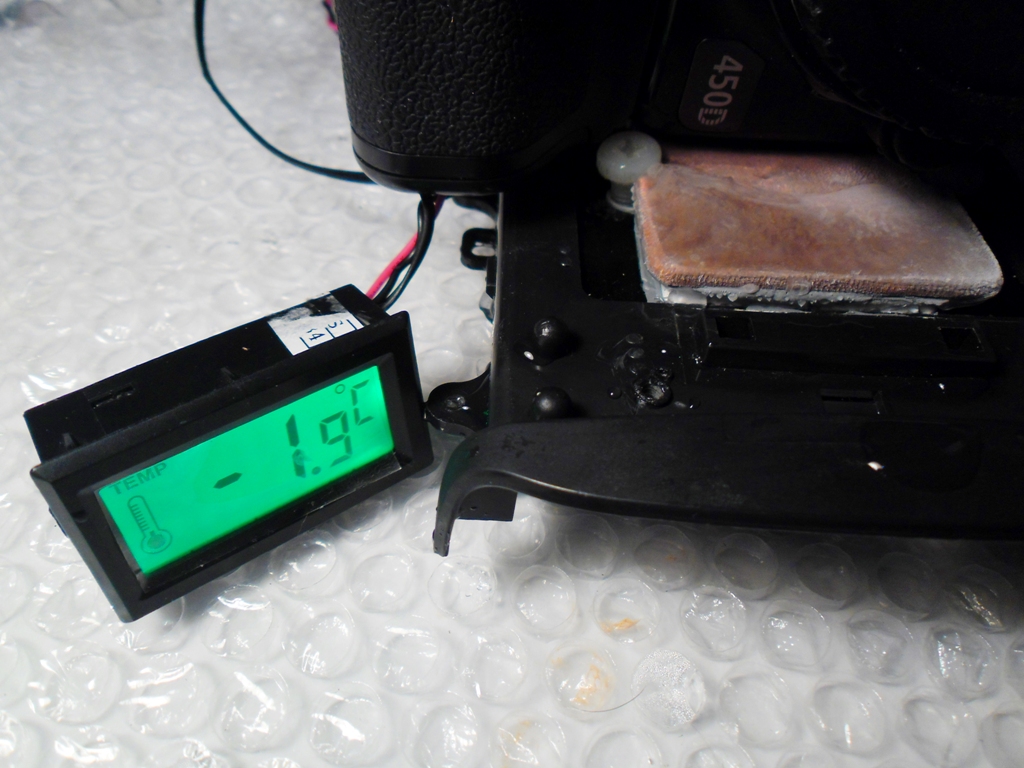
During an exposure, the imaging sensor of a DSLR warms up, resulting to noisy images. By cooling down the sensor, it is possible to eliminate or somehow minimize this thermal noise.
Cooling the camera’s sensor using a Peltier module
I have made a number of attempts to accomplish this with a Canon 450D and a Peltier module, however, it appears it is very difficult to implement without running into problems such as condensation and frosting.
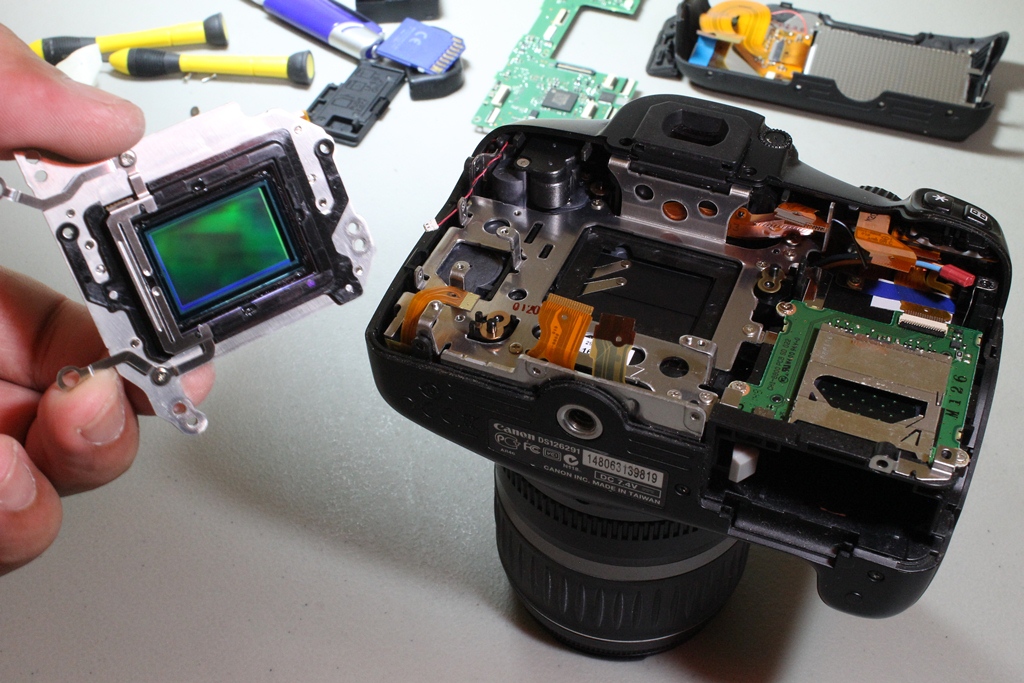
I have also performed filter modifications on a number of DSLR cameras (Canon 450D, 700D, 1200D, 500D, 1000D, 1100D, Nikon D3100, and Fuji X-A1) for me and my colleagues. It involves the removal of the stock UV-IR filter, making the camera more sensitive to H-alpha wavelengths. This modification is helpful only when shooting targets with H-alpha emissions, as most DSLR camera’s standard (stock) filter blocks this part of the spectrum.
Take note of the shift in white balance (reddish hue), which is to be expected in this type of modification. Focus will be affected, your camera may no longer focus with compatible lenses unless you add a filter between the lens and the sensor, to address the shift in focus and to filter out UV-IR. If used with telescopes, you need a DSLR-to-telescope adapter and achieve focus using the telescope’s focuser.