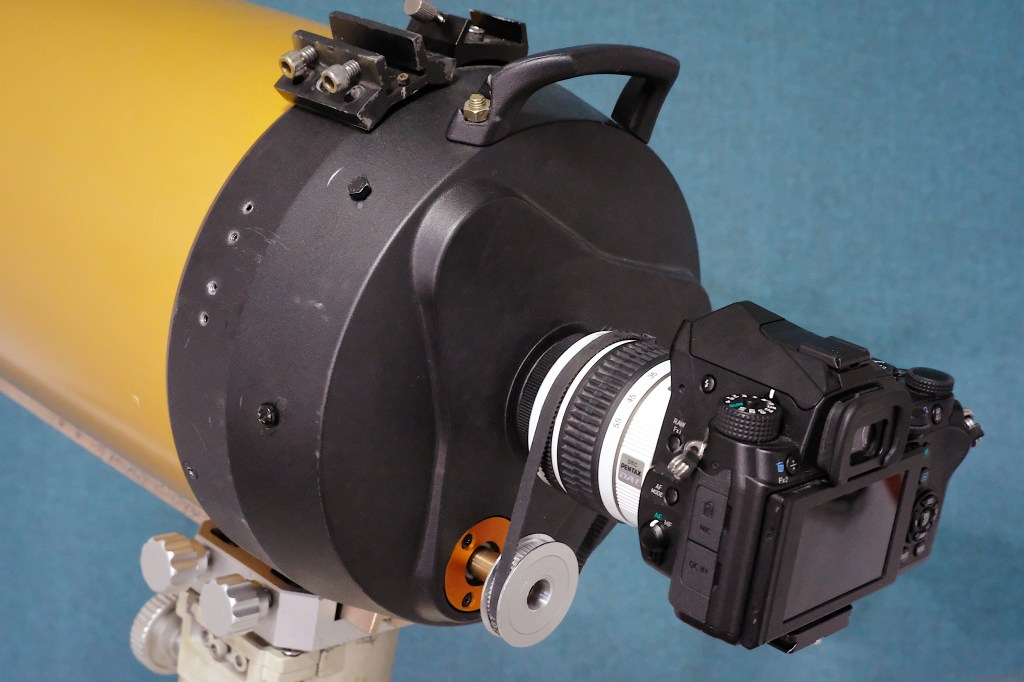
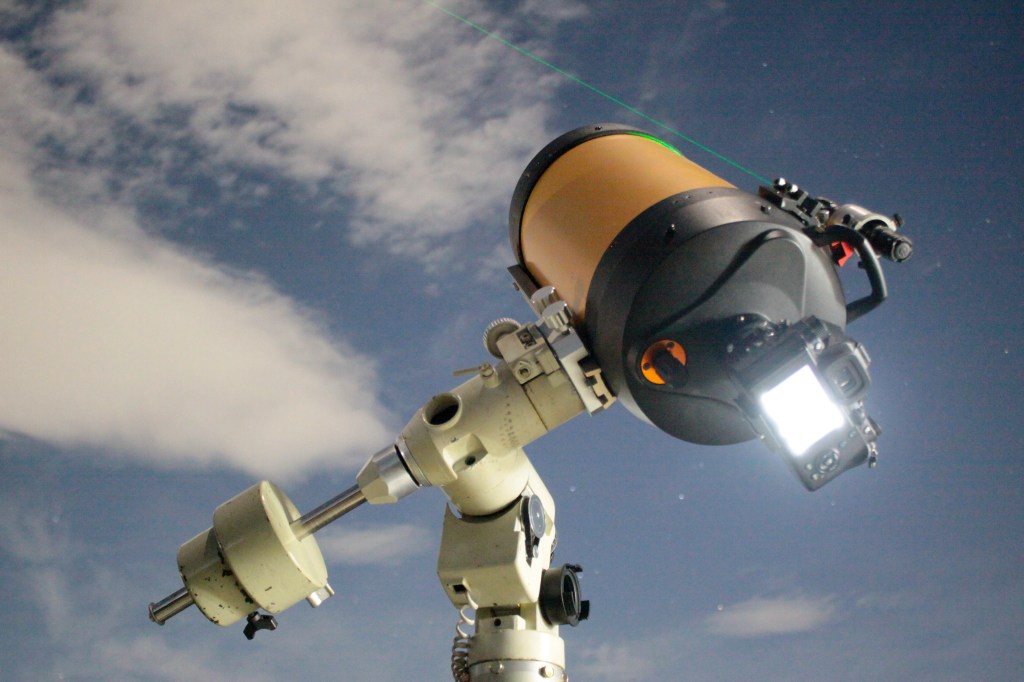
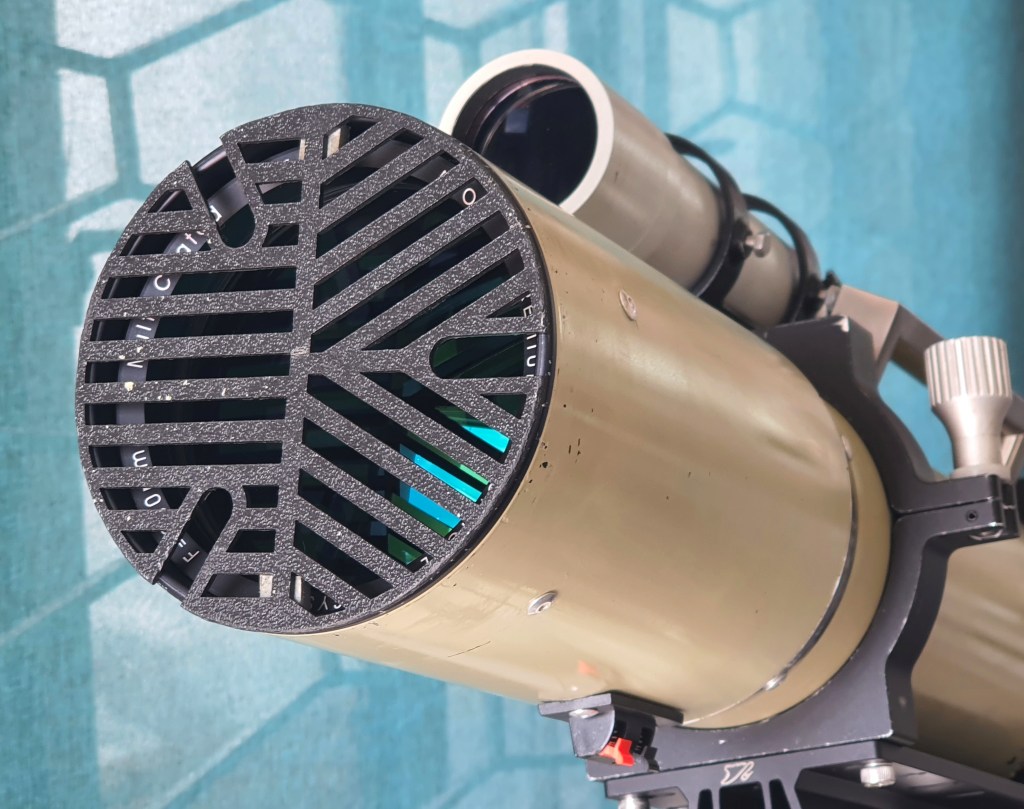
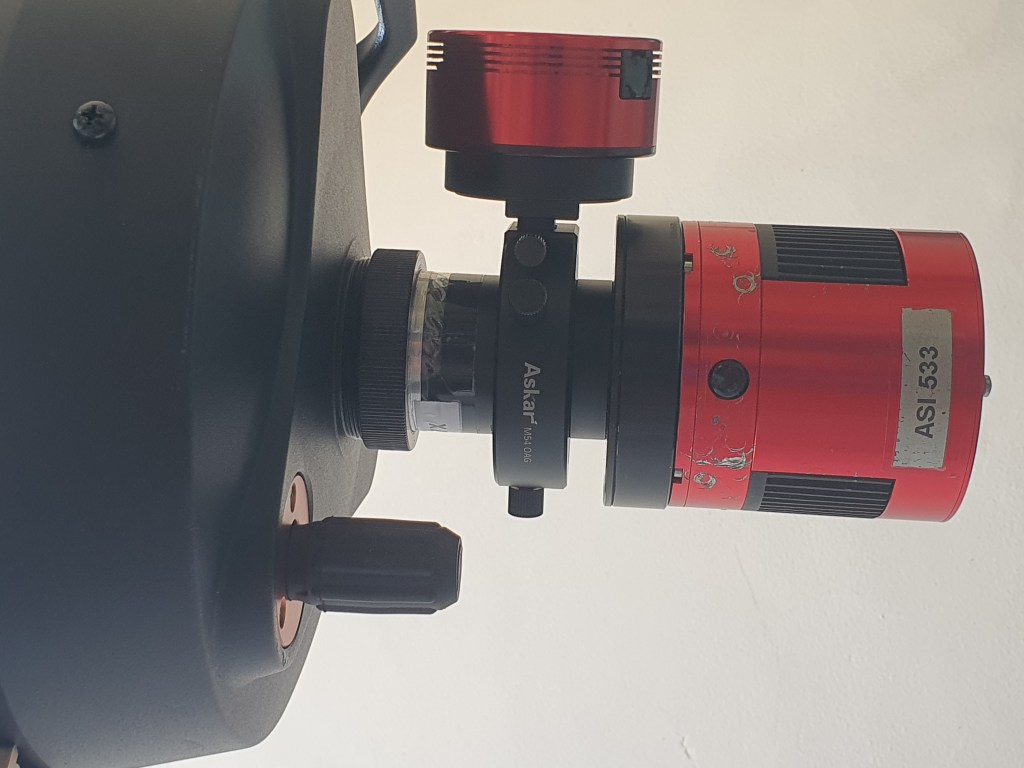
I am currently developing an automated aircraft tracking system using an 8 inch Celestron SCT, a DSLR camera, and a modified equatorial mount. This video was recorded on 7 April 2026 using a custom-modified telescope designed to track high-altitude aircraft, captured from our roof deck in Cavite, Philippines.
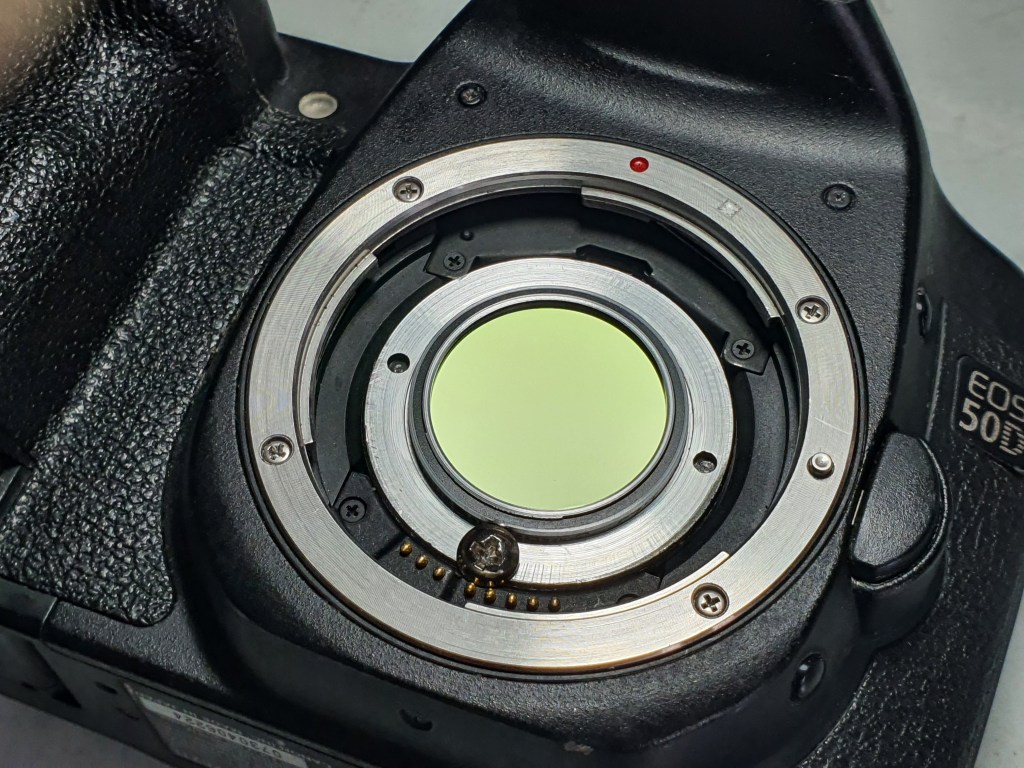
Aircraft details: Airbus A350-941 Cathay Pacific CPA162 from Sydney to Hong Kong B-LRQ at altitude of 43,000 ft and ground speed of 883 km/h passing above Bacoor, Cavite on 7 April 2026, captured using an 8 inch Celestron SCT at 1135 mm (with reducer) and a DSLR camera on a homebrewed automated aircraft tracking system.
Related link: Aircraft Tracker
Night Sky in Focus
© Anthony Urbano | Bacoor, Philippines